
Recipe-development draft. This recipe has not been kitchen-tested. Confirm the yield, bake time, texture and storage quality before publishing.
Brown butter gives this cookie project its starting point: a small saucepan, a few minutes of attention and a bowl of chopped chocolate waiting nearby. The dough gets a proper chill before baking, so this is a bake to plan rather than rush.
The detail that makes the method repeatable
The recipe starts with 170 g butter. After browning and cooling it, weigh the butter and its browned bits, then add enough water to bring the mixture back to 170 g. That puts the moisture measurement back under your control instead of letting different browning times change the dough.
Let the butter cool before adding water. A light-colored saucepan also makes it easier to see the difference between amber milk solids and burned ones.
Chopped chocolate, little flecks and all
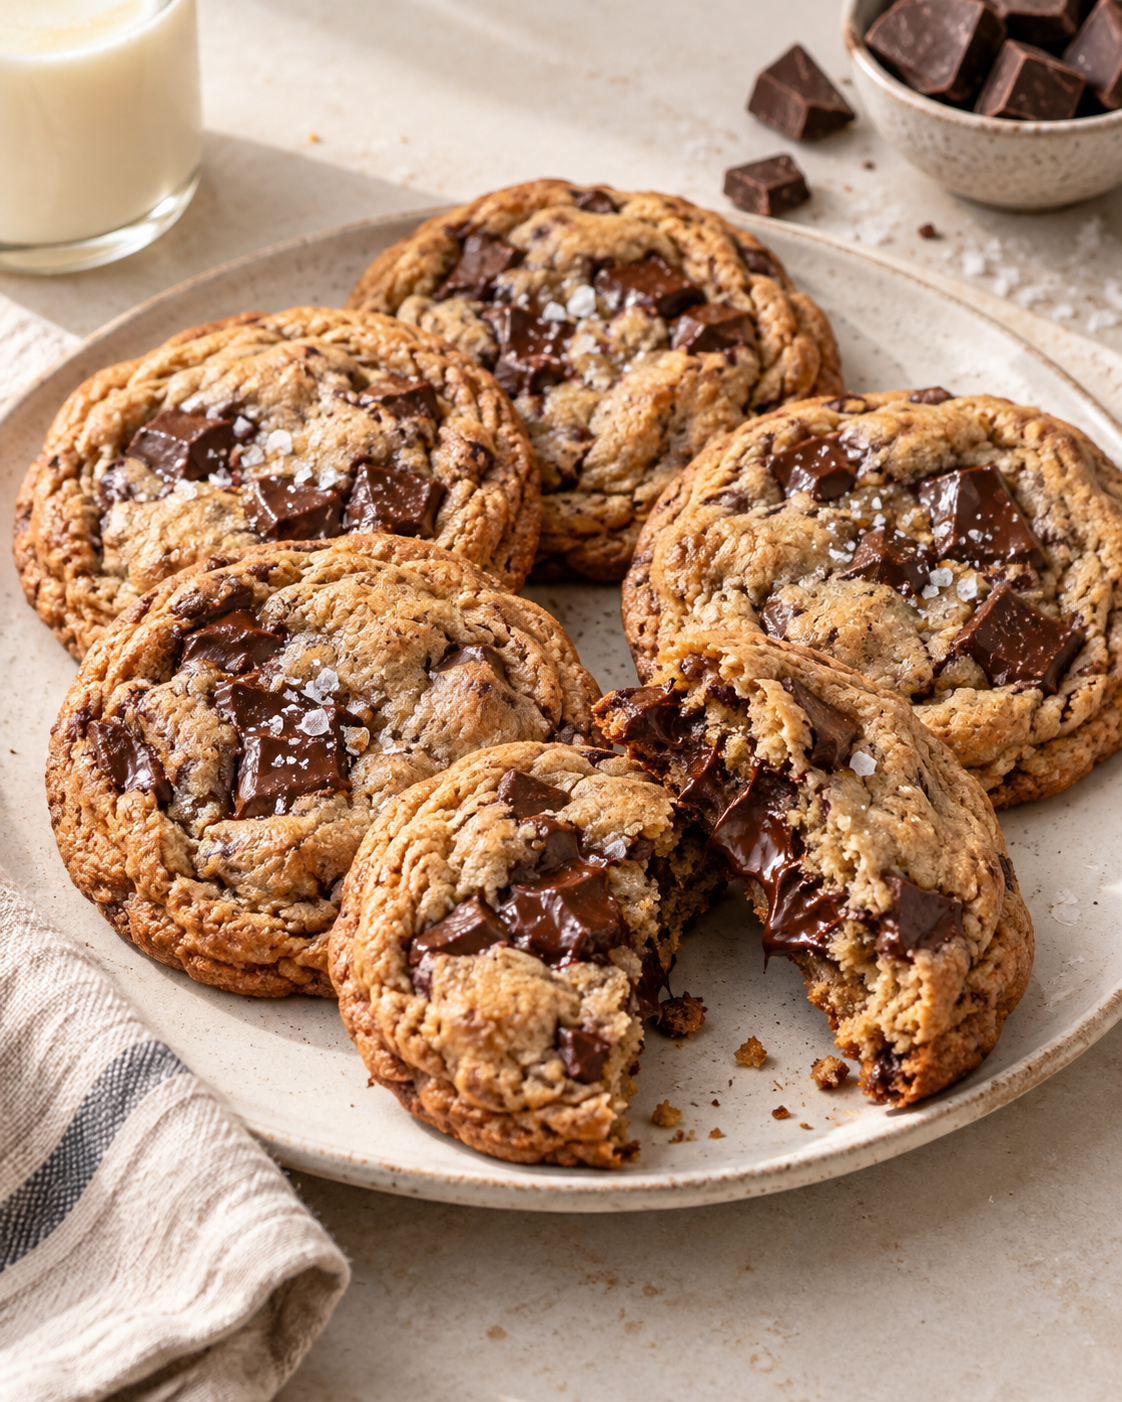
Use a semisweet baking bar and chop it into mixed small pieces. Fold in both the chunks and the little shavings left on the board. Keep the first batch consistent with this ingredient before trying a chip substitution.
Do not skip the dough chill
The 60-minute refrigerator rest is part of the written formula, not an optional styling trick. Keep the second tray of dough chilled while the first tray bakes, and always start with a cool baking sheet.
Portion once, bake evenly
Weigh the dough into 20 portions of about 48 g. Baking one test cookie first is a useful way to check your oven and dough before committing the whole tray. Check the spread and bake time before putting the remaining portions in the oven.
Let the center finish setting
Look for lightly golden edges and a center that has lost its wet sheen. Leave the cookies on the tray for 5 minutes, then transfer to a rack. Judge the texture once they have cooled rather than from a cookie straight out of the oven.
Store only fully cooled cookies in a sealed container. Warm cookies trapped under a lid create condensation, which makes the next-day texture harder to assess.